

Last updated: 19 February 2020
Have you ever wished that all the image specs you need for running your event on Quicket were available all in one place? Well, today's your lucky day because we’re going to help you with your very specific image-related wish.
We've gone ahead and put all the design specs for all the various aspects of your event together in one easy-to-follow list for you, or your design team, to reference.
Before we delve into this, take note of the following specs to keep in mind for all images. Your DPI (dots per inch) need never be more than 72 dpi for any images produced for digital use. Anything more would be overkill and will drastically slow down the load time of your ticket sales page.
Similarly, keep the file size of our images to between 300 kb and 500 kb (and even smaller for custom ticket designs to ensure that your ticket sales page will load for your ticket buyers as fast as it can. The slower the page loads, the more potential ticket buyers might drop off before even selecting a ticket.
We also recommend using a tool such as Compressor.io to optimise your images, which will keep page load times for your ticket sales page as fast as possible.
Jump to the end of this article for a handy summary to reference.
1. Event Profile Image
- Supported formats: JPG, PNG, GIF, BMP
- Ideal dimensions: 600 x 600 px
When you first create your event on Quicket, you'll be prompted to upload an optional square image on the Event details section of the event creation steps.
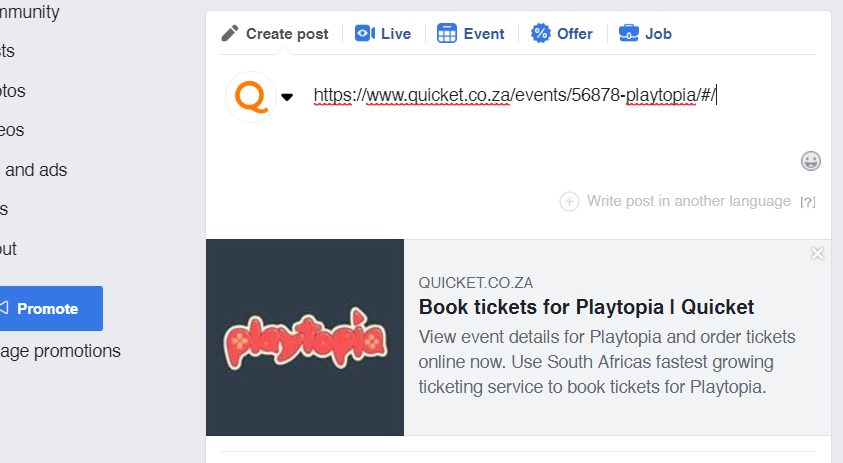
Where does this image display? This is an incredibly important image as it displays anywhere that the URL for your ticket sales page includes a preview image. An example? Here's one where the ticket link from an event page on Quicket was posted to Facebook. Having a relevant image to your event here makes a big impact in conveying professionalism to your audience as well as closely aligning itself with your event branding to create an instant association with followers.
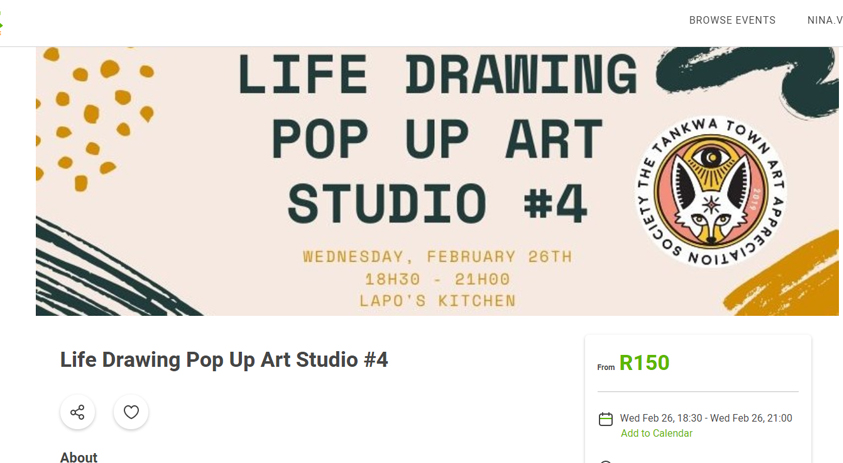
2. Event Banner Image
- Supported formats: JPG, PNG, GIF, BMP
- Ideal dimensions: 1500 x 500 px
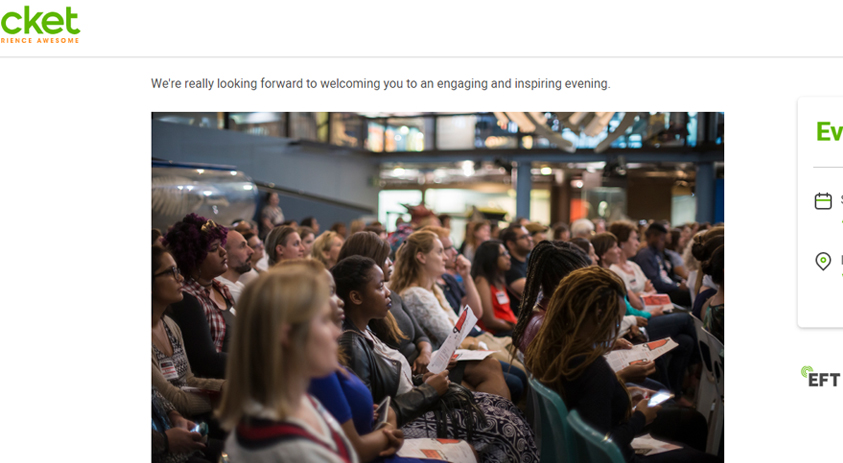
The event banner image is something of a game-changer for customising your ticket sales page. You only have one chance to make a good first impression (as the very apt cliche goes) so while driving traffic to your page is important, the event banner image is what visitors see the very moment they land on your page, and for this reason alone, it has the potential to turn them into ticket buyers.
If you want your banner to look great on your Quicket event page, then your image will need to be 1500 px wide. This will line it up nice and neatly with the blocks of content on the rest of the page.
We suggest you make sure that the height of your image is 500 px. Ever heard of "the fold"? The fold is the portion of a website that a person is able to see without scrolling. You want to make sure the start of the "Choose your tickets" section is above the much vaunted fold, meaning that anyone landing on your ticket sales page knows they've come to the right place to buy tickets.
It may sound like a small thing, but you'd truly be surprised at the impact this has. If your banner image is too tall and someone landing on the page gets distracted or maybe thinks they're in the wrong place, that's a ticket sale lost. The easier you make it for your ticket buyers, the better.
And here’s another little tip? Be sure to include the name of your event, date and location as part of your banner image. Not only does it make your event look more professional, but it's often the first piece of info a ticket buyer is looking for, and that can go a long way. This is just another way you can make things as easy as possible for your ticket buyers.
If you really want to up the ante on your ticket sales page, you can customise the colours to match the look and feel of your event. And don’t stress if you need a little help? Give us a shout. We’re here to help make the most out of your event.
To see how to add a banner to your ticket sales page, read this knowledge base article here, And for more ways to ensure your event ticket sales page is everything it can be, read about the Seven Deadly Sins of creating a ticketing page here.
Oh, and here's a simple template you can use to design this image! It works for both the wider and the narrower version. Download it here.
Download our Event Banner Image Template
3. Images in the event description
- Supported formats: JPG, PNG, GIF, BMP
- Width of description box: 740 px
Want to add some images in the description of your event? Of course you do. The width of this description box is 740 px, so to use this space effectively, make your image 740px wide or smaller.
Any images wider than this will automatically be scaled down to a width of 740 px, so plan ahead and avoid any scaling that might mess with your look or design.
To add a bit more sparkle and excitement to your event description, especially in the case that you have a lot of information to communicate to your guests, check out our knowledge base article on using tabbed content to organise your event info here.
4. Images for custom ticket designs
- Supported formats: JPG, PNG
- Maximum dimensions: 960 x 680 px
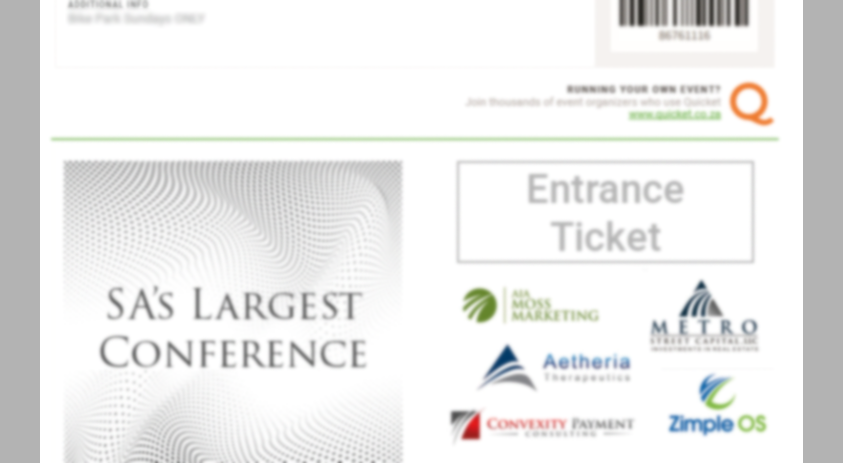
Quicket gives you the ability to add an image to your tickets, and even to add a different image per ticket type. Many organisers use this feature to add the logos of their sponsors, additional information about the event, or as a way to continue the look and feel of the event.
Although in theory you could make this image any size you want, the largest it can be before it starts overlapping onto a new page - and you wouldn't want that unnecessary and clunky waste of paper, I mean, just think of the trees - is 960 x 680 px. That said, this is still a fairly large image. Remember that although we encourage ticket buyers to not print their tickets and rather show them on their smartphones (which you can scan with our nifty free ticket scanning app), many people still do, and some of your guests may not appreciate the amount of ink an excessive image can use. Or having to fold their ticket seven times over just to fit it into their pockets.
The size of this image also impacts the file size of your PDF ticket that your ticket buyers receive. Trust us, you want to keep this file size way down. Why? Well, when you upload massive images to your PDF ticket design it makes the PDF file attachment to the confirmation email that your ticket buyers should receive too large to be accepted by many email providers. This results in the email provide blocking the email from reaching your ticket buyer. Try keep the image resolution down so that your the image size is smaller, ensuring that your ticket buyers actually receive their ticket. Some email attachment limits are 250 kB, so since the actual PDF ticket on Quicket is 28 kB, you'll want to make sure that the image that you add to your ticket is no larger than 220 kB.
We recommend a smaller image, or an image with a lot of white space if you're displaying logos, etc.
5. Merchandise and Ticket Groups
- Supported formats: JPG, PNG, BMP
- Minimum dimensions: 105 x 105 px
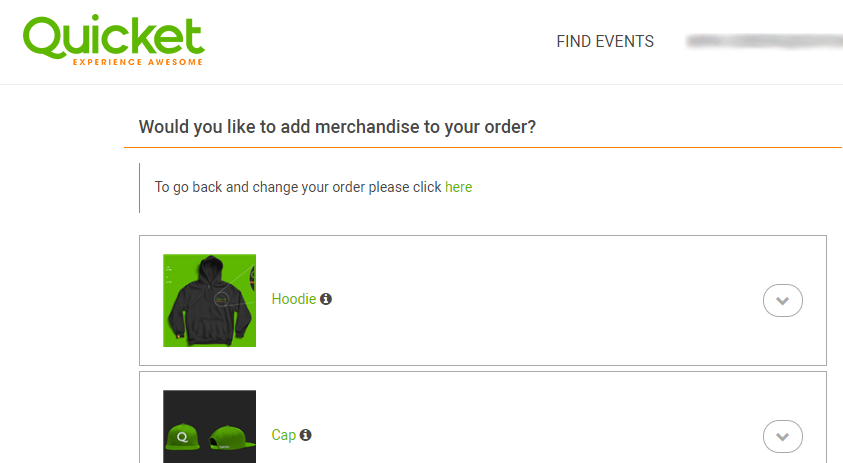
If you're selling merchandise, or want a more logical way to group your tickets with ticket groups, a square image for each of these will do. And, as much as having a higher resolution image is nice, the image will be scaled down to 105 x 105 px at 72 dpi.
Want to know how to set these up? Follow our handy knowledge base articles for creating ticket groups here and merchandise sales here.
This below example is for merchandise, but the same applies to ticket groups.
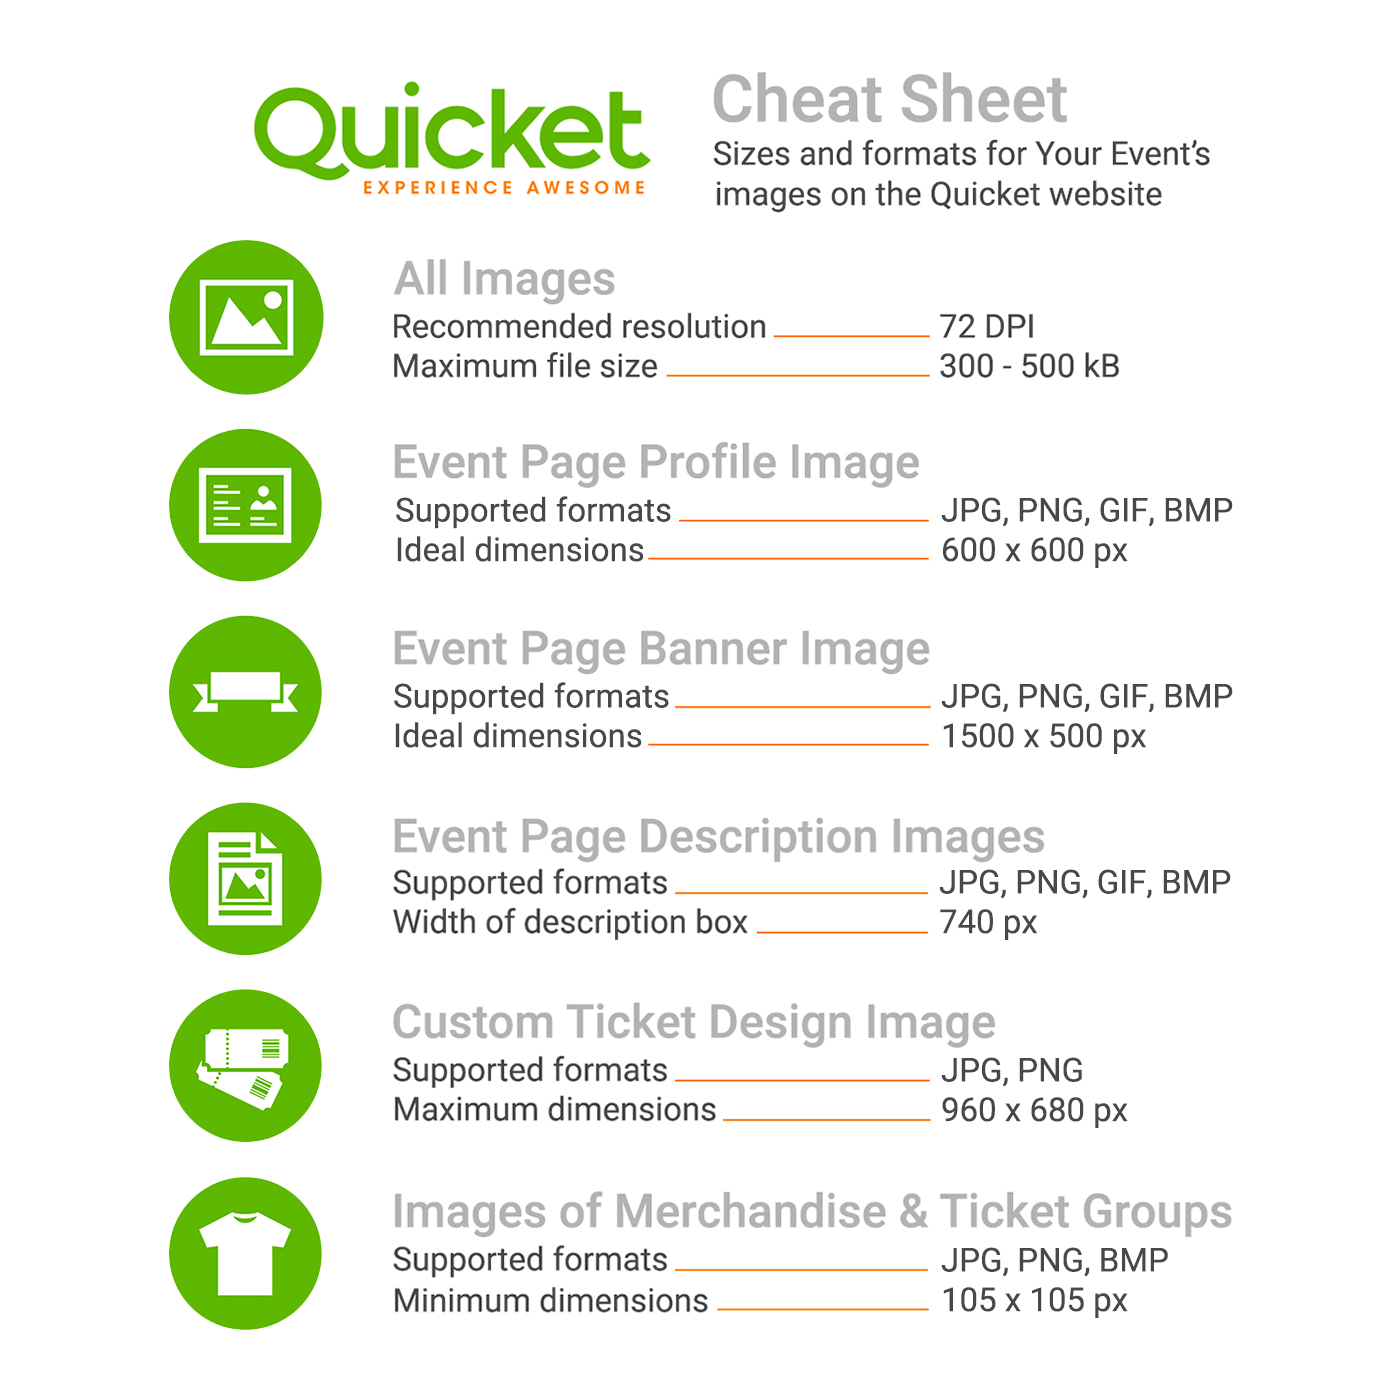
And that's it! Your Quicket Image Cheat Sheet is ready and waiting for you below to use in making the best of your event. You now have all the image info that you need to brief your design team and create a super top-notch event page on Quicket.
If you ever have any questions or need help with any of these types of tips, our Customer Success team is on the ready to help you. Simply give us a call on +27 21 424 9308 or email [email protected].
Selling event tickets has never looked this good.

Nina is the Marketing Manager for Quicket and is passionate about growing a community of event organisers into one that is empowered to create incredible experiences. An event organiser herself, she’s also worked across brand marketing, social media, and in the non-profit world. She’s a burner (AfrikaBurn) at heart, an avid baker, loves a good hug, and cooking dinner for friends over a glass of good wine.