
This is lesson 1 in the ‘Essentials for your Quicket Event’ course.
Click here to skip to the next lesson.
Welcome to lesson 1 of our ‘Essentials for your Quicket Event’ course. At the end of this 5-part course you’ll be sure that you haven’t missed a crucial step and aren’t caught with unexpected challenges on the day of or after your event.
This lesson covers:
Aside from the marketing, planning and running of your event, there are some key things to keep in mind that you won’t want to skip in the lead up to your event, on event day, and after your event has ended. This course will help make sure you haven’t missed any of the non-negotiables.
First, let’s start with what to keep in mind pre-event.
How will people access your event?
Lesson 1: What to plan for leading up to event day - Section 1
How people access your event is not only the first impression of your event, but their experience at the door is likely to colour their experience once inside as well - whether positively or negatively. Also known as Access Control, how you run your event door is just as much a part as your event’s content and strategy itself.
Ironically, access control is one thing that many event organisers - both new and experienced - often neglect to consider until right before their event. Leaving these plans to the last minute both limits the options available to you in a big way, and increases the likelihood of unexpected things going wrong - and we’re sure there are more than enough unexpected variables for you to try navigate already. There are few things harder to deal with as an event organiser than an agitated crowd of people outside your event.
Read the following statements and take note if any of them apply to you:
- I’ve never run an event, or managed an event’s access control before
- I have run events or managed an event’s access control before, but I’m not familiar with Quicket’s Field Services offerings or the free QuicketGO app
- My event is larger than 1,000 people, has multiple entrances, has multiple ticket types, or has both ticket sales and scanning at the event.
If any of the above apply to you, we highly recommend you get in touch with our Field Services team. They’ll take into account all your requirements to advise on whether you need their services (we’ll go into these in the next section), or whether you’ll do better managing your own door.
Essentially, they’ll help you ensure that you don’t hit any snags on event day and that your excited guests can flow into your event smoothly.
Field Services: your options, how and when to request this
Lesson 1: What to plan for leading up to event day - Section 2
Our Field Services team can put together an access control setup customised to your specific needs - whether your needs are simple or extensive.
Rate Card
To get an idea of what the various Field Services options are and their prices, click here to view the rate card. You have the option to rent equipment, hire staff, or make use of a combination of both. All of these services are optional and are not included in your ticketing fees.
To request advice or services from our Field Services team, you’ll need to do so from the dashboard of your event. We’ll show you how later in this section.
When to request Field Services
It’s incredibly important to do this as early as possible. Take note of the following timelines to make sure you request Field Services in time to have all the possible options available to you.
For an event of less than 5,000 people:
- Optimal minimum timeframe: 3 weeks (If you request with less than this time frame we'll do our best, but cannot guarantee that we have the capacity to assist you.)
- Bare minimum timeframe: 1 week
For large events of over 5,000 people:
- Optimal minimum timeframe: 3 months with working closely on all aspects of your event’s access control (If you request with less than this time frame we'll do our best, but cannot guarantee that we have the capacity to assist you.)
- Bare minimum timeframe: 5 weeks
How to request Field Services
When you request Field Services from your dashboard, you’ll need to know a few details about your event aside from your contact details. For example, the venue and details about it, what services you’re requiring from us, what will need to be done at the door, expected attendees, etc. But never fear! There’s a handy form you’ll fill in to help you provide us with all this information, and we’ve made some notes to guide you below.
Tip: If you’re not sure what you need and would like to chat with our team for advice, fill in the form as best you can and make notes in the ‘Extra info’ section to note anything you’re still figuring out.
When you’re ready to request Field Services, do the following:
- Log into your Quicket account.
- Under ‘My Events’ in the menu, select ‘Manage Events’.
- Select ‘Manage event’ next to the event you’re focusing on to access the event dashboard.
- From the menu, select ‘On the day’, then from the drop-down menu that appears, select ‘Request field services’.
- On this page, fill out all the fields of the form. You will need to fill out each field, but if any are not applicable to you, you can note this in the ‘Extra info’ field at the end of the form.
- After some basic info (Event Name, Your Name, Your Email, Your Phone, Event Venue), you’ll need to complete the following:
- City: Choose between ‘Cape Town’, ‘Johannesburg’ or ‘Durban’ areas.
- Services Needed: Choose between ‘Staff only’, ‘Equipment only’, or ‘Staff and equipment’
- Staff responsibilities: Choose any combination of the options - ‘Scanning’, ‘Wristbanding’, ‘Door sales’, ‘Registrations’, ‘Runners’ or ‘Overseeing’.
- Start and end date/time: for each day of your event, not when you want Access Control to start. If your event is longer than three days, add this in the ‘Extra Info’ field at the end of the form.
- Total expected attendees: This includes all presold tickets and those that purchase tickets on the day.
- Expected number of walk-ins: How many people do you expect to arrive on the day without a ticket? If you are not doing door sales at all, this can be zero.
- ID checking: Choose between ‘Yes’ and ‘No’ depending on whether you will need IDs checked at the gate.
- Number of entrances: This will depend on your venue. Note that the more active entrances you plan to have, the more staff you will need.
- Payment methods at the door: Choose any combination of the options - ‘Cash’, ‘Card’, or ‘Snapscan’.
- Using wristbands? Select whether you’ll be using wristbands at the door, or leave the box unchecked if not.
- Quicket to provide wristbands? Select whether you’ll be needing to source wristbands through Quicket, or leave the box unchecked if you’ll be providing your own or not using wristbands.
- Registration on site? Choose between ‘Yes’ and ‘No’ depending on whether you will need information captured from walk-in guests at the gate.
- Extra info: Anything else we need to know, or clarifications on any of the fields completed in the form.
- When you’re done, click the ‘Submit’ button. Someone from our Field Services team will be in touch within 1 working day to discuss your event, pricing and provide you with a quote.
Tip: In this section, to select multiple responsibilities, hold down the ‘Ctrl’ button on your keyboard while you click each responsibility you want to select.
Tip: In this section, to select multiple payment methods, hold down the ‘Ctrl’ button on your keyboard while you click each method you want to select.
Running your own door using Quicket’s free options
Lesson 1: What to plan for leading up to event day - Section 3
For an event of under 500 or 1,000 people, with just one entrance, one ticket type, or no sales on the day, your needs will be a lot simpler than those of a larger event.
Perhaps your event is simple enough that you already have people enlisted to manage the door and you’re even thinking of simply printing the guest list and checking off names as people arrive. Before you go this route - know that this is an incredibly time consuming and inefficient way to check people into your event, even if your event is a small one. Luckily, there’s a free alternative that will effortlessly help check your guests into your event in no time.
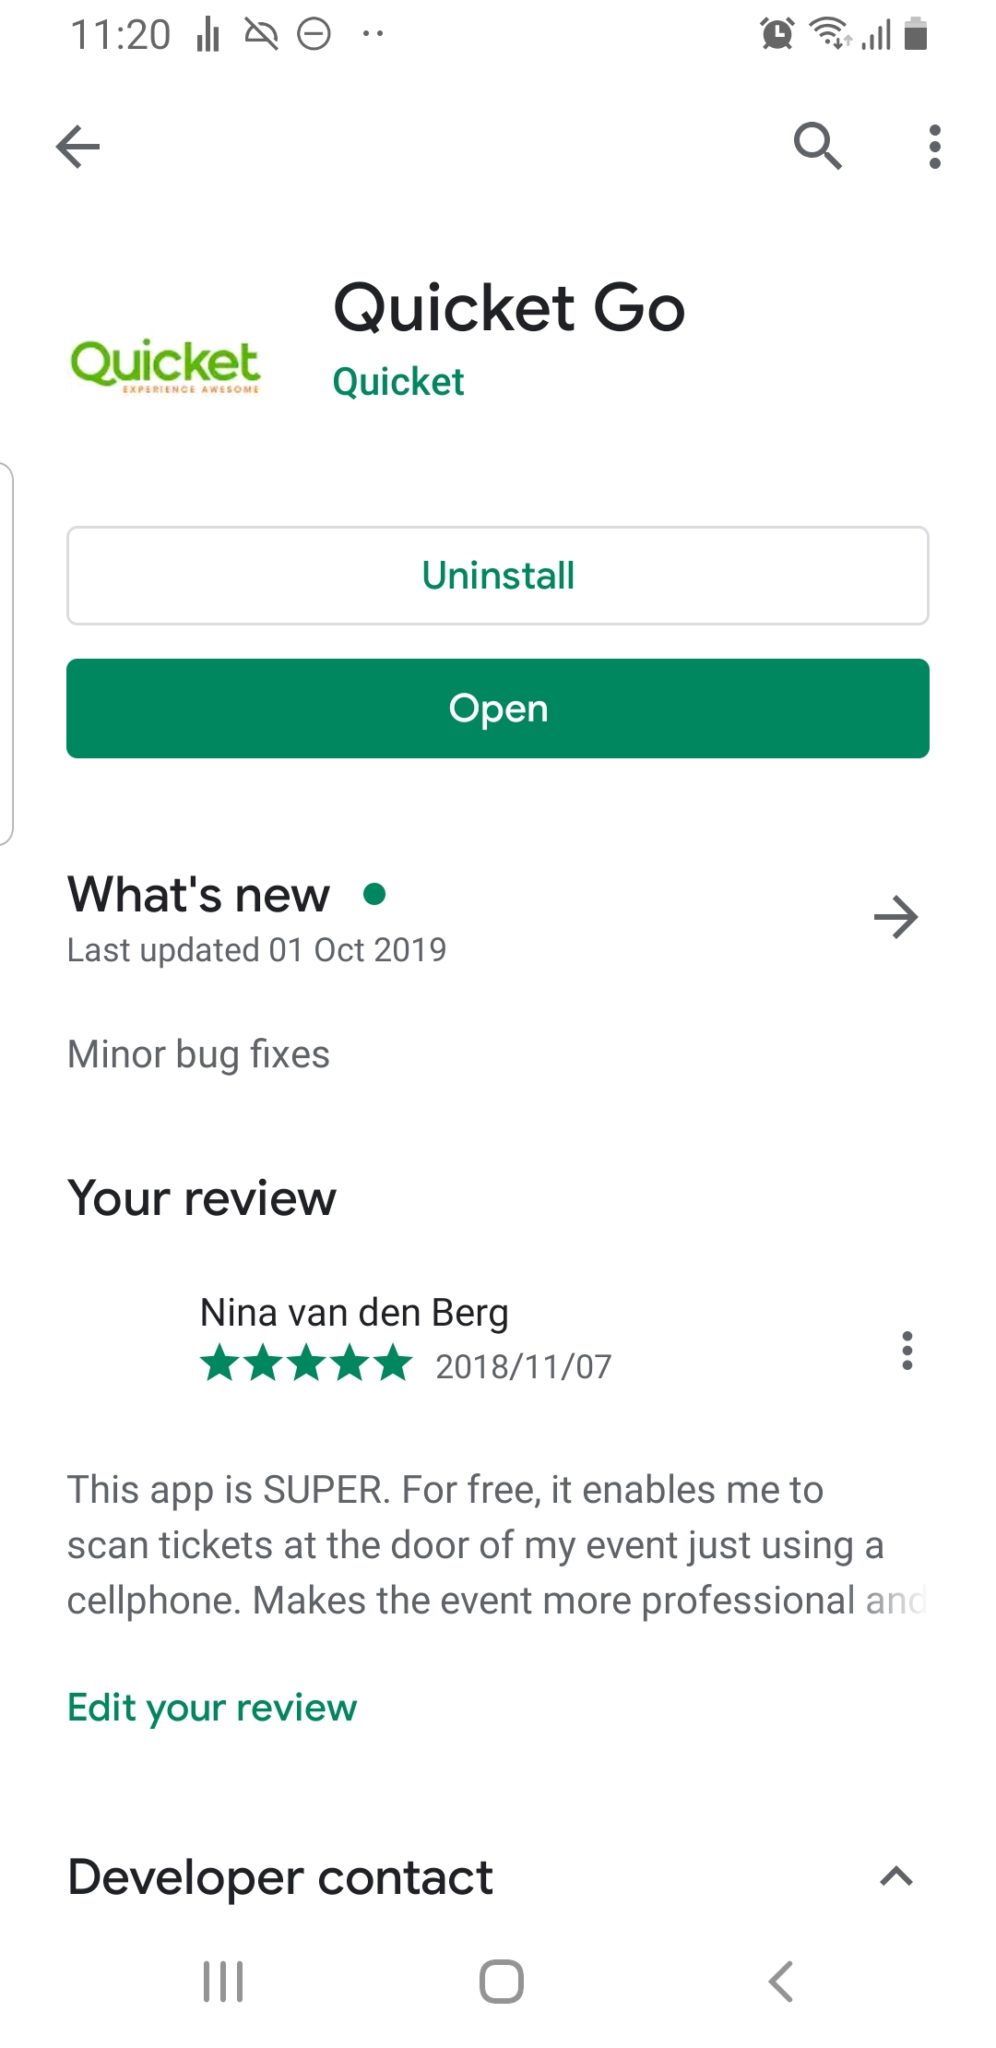
Quicket’s free scanning app
If you’re not aware of Quicket’s free ticket scanning app, listen up! Quicket GO is our free app, available for iOS and Android that enables you to scan any Quicket ticket right from your phone or tablet at the door of your event, avoiding duplicate check ins. Here are some of the app’s baseline features:
- Log into the app using your Quicket account.
- Switch between your Quicket events.
- Scan tickets with your device camera.
- Search guest list and view complete guest details.
- Check guests in / out.
- Manual barcode entry mode allows for an external USB barcode scanner to be plugged in for high volume scanning.
- Real-time check-in statistics.
- Use multiple devices all running this app to increase your check-in rate.
- Syncs between devices.
- Works whether you have an internet connection or not.
We’ll cover how to use the Quicket GO app at your event later in this course, but first, here’s how you set it up in the lead up to your event.
How to get and set up Quicket GO
It’s best to do this ahead of your event, so that it’s one less thing to do on the day, and you can familiarise yourself with the app.
All you need is a smartphone or tablet (or as many devices as you want to scan on), and your Quicket account login details.
- On each device you want to scan from, first download the app, either from Google Play or the Apple App Store.
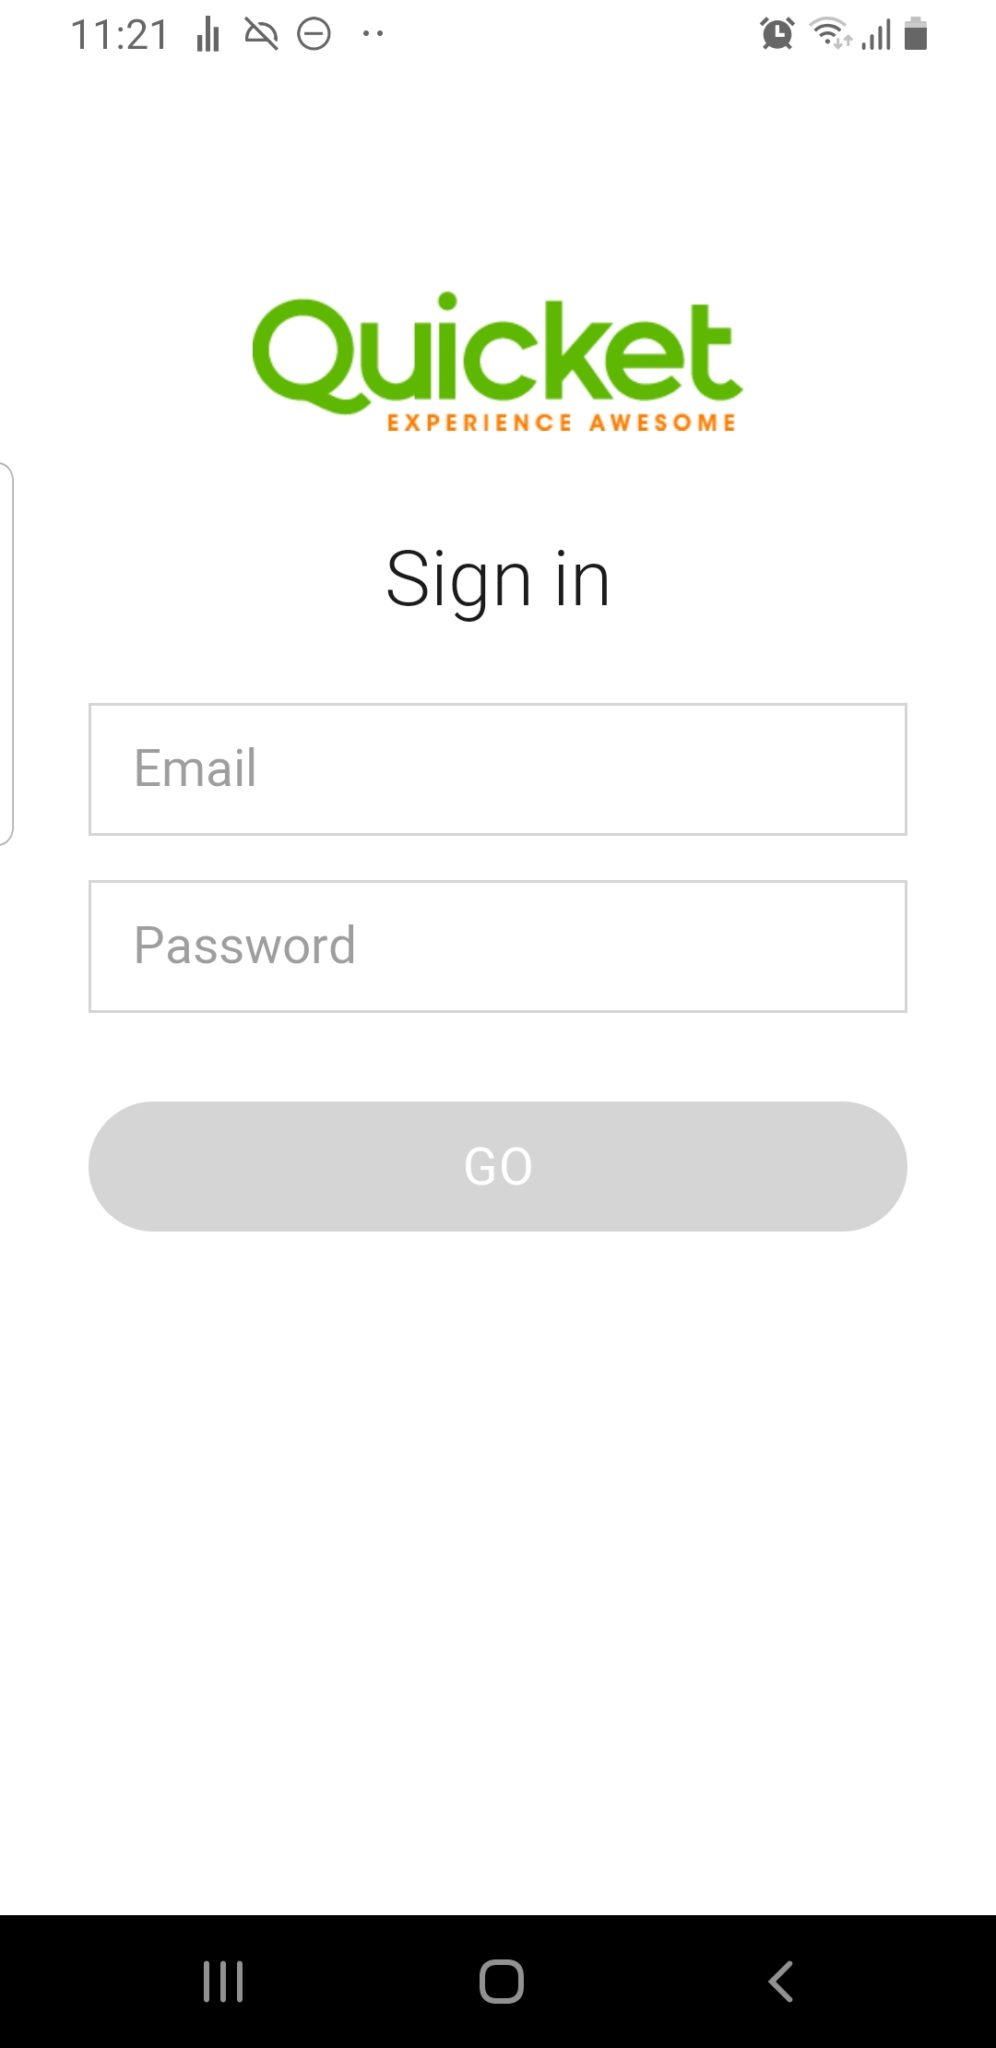
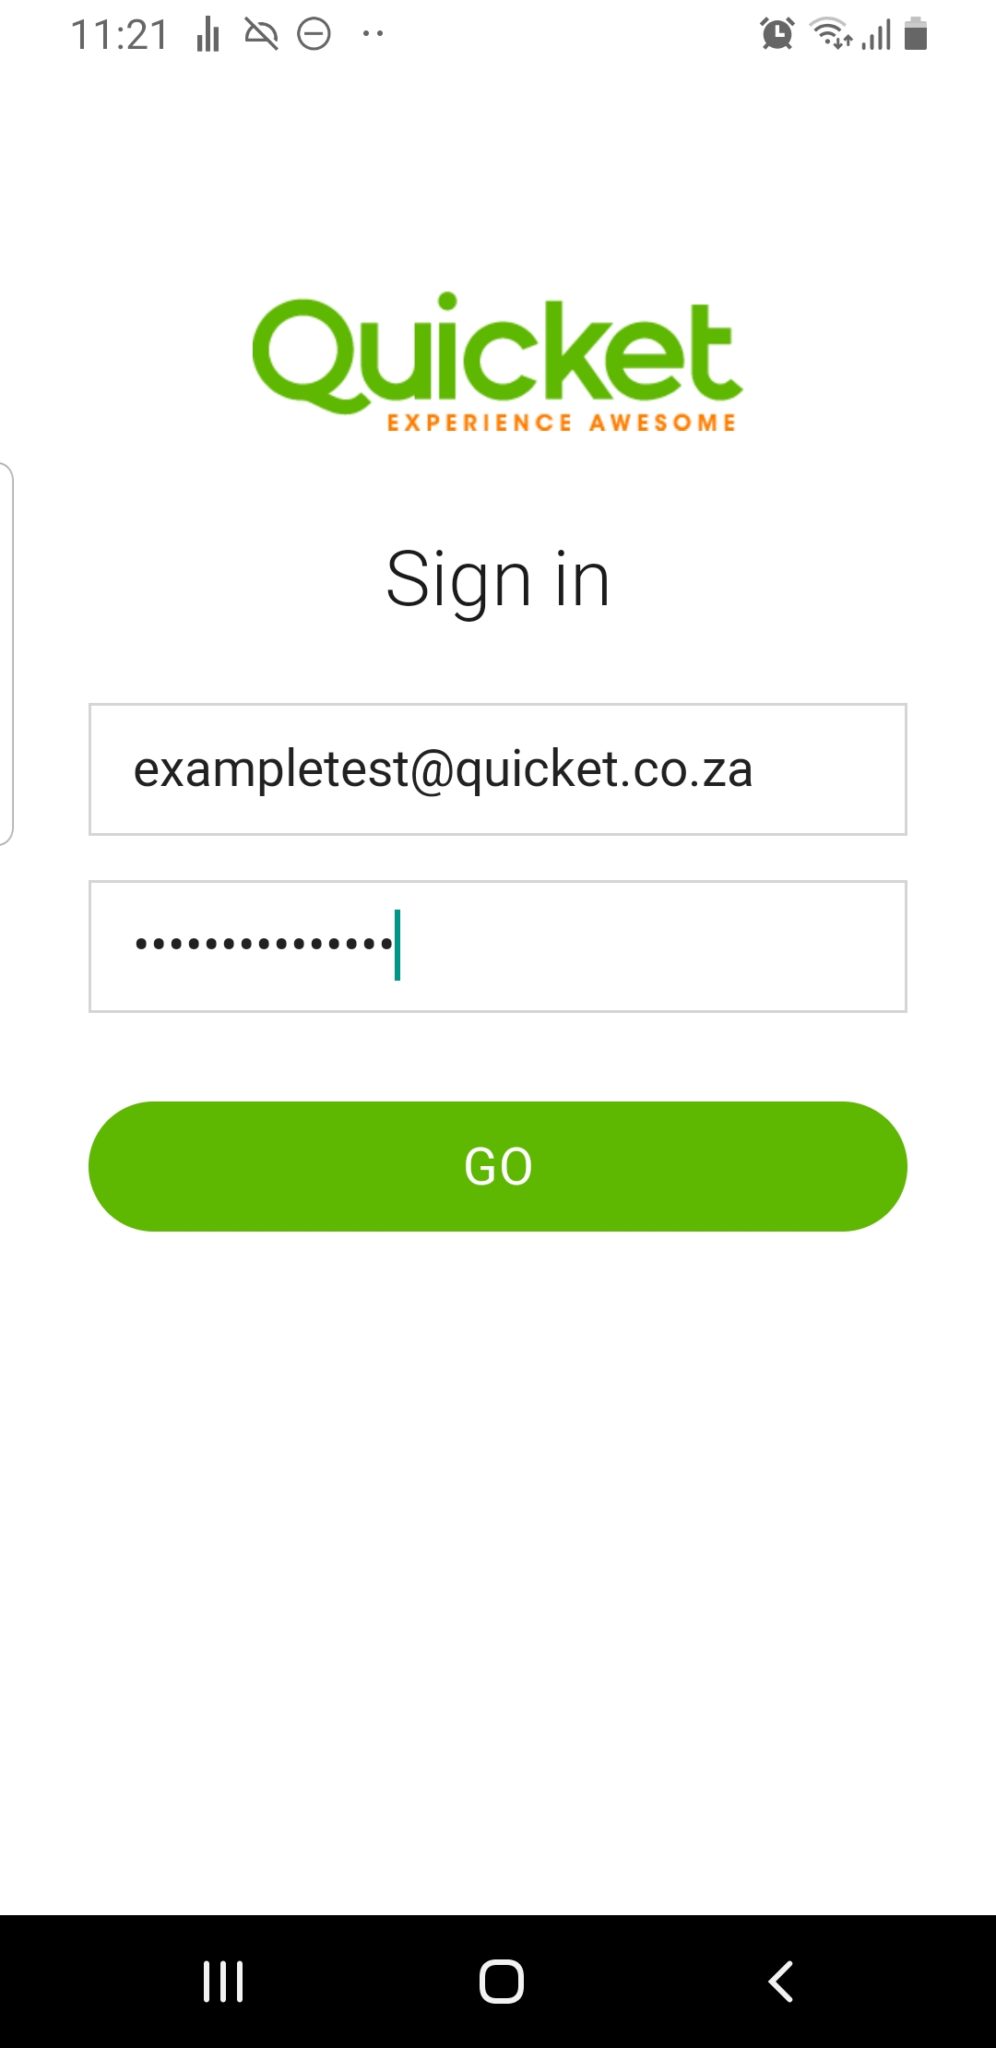
- Once downloaded, you simply need to log in.
There's no need to create a new Quicket account - simply use the same username and password to log into the app as you would use to log into your account on the Quicket website.
If you're unsure of your password, you can reset yours here.
- You may be prompted to create a username for the user account that you’re logging in with. This is an optional feature used to easily identify who’s logged into which device and to track the separate scanning progress of each device.
You’ll see you’re now on a screen showing your active events only. On the day, you’ll tap the name of the event you want to scan for to access the ability to scan Quicket tickets for that event.
You’ll also need to give individual access to the people who will be scanning or selling tickets using the app. To do this:
- Log into your Quicket account.
- Under ‘My Events’ in the menu, select ‘Manage Events’.
- Select ‘Manage event’ next to the event you’re focusing on to access the event dashboard.
- From the menu, select ‘Manage’, then from the drop-down menu that appears, select ‘User access’. Then, for each person you want to grant access to, do the following.
- Log into your Quicket account.
- Add the email address of the person you’re granting access to in the ‘User email address to link’ field.
Tip: Whenever you’re working with email addresses, always copy them - never type them out! Human error is often the cause of things going wrong. Rather copy and paste the email address exactly as it was given to you, or better yet, straight from an email you received from the person. This will help ensure you have no additional hiccups on the day.
- Check the boxes for each section of managing your event on Quicket that you want to grant this person access to. For door scanning and app access, scroll down to the ‘On The Day’ section and check the box in the ‘Mobile Scanning Access’ line.
Note that this person will only have access to scanning, so if this person is a supervisor or if you need them to to have any access to additional aspects of managing your event, you specifically need to grant them those permissions. For example, you might want to give them ‘Sell at the Door’ access if you intend for them to be selling tickets at the door of your event, ‘Scanners’ if you’re using traditional scanners instead of the Quicket GO app to scan tickets, or ‘Complimentaries’ if you need them to be able to send out complimentary tickets. You’ll need to check each user access box that applies to each person you’re granting access to. - Click ‘Save Changes’. This user will receive an email alerting them to the access you granted.

You can also edit the user access once you’ve done this, if say you’d like to add more permissions, remove some, or revoke access entirely.
Clicking the paper plane icon will resend that user an email about their access.

That’s all you’ll need to do before the event for scanning with the Quicket GO app!
Some other guidelines for running your event’s door
- No-one gets left alone
It’s wise to have two people per entrance of your event, and if you want to increase the speed that people are checked in, you’ll need more scanning stations with two people each at the relevant entrance.
This assures that if there are any issues, you have an additional person that can help keep checking people in, or that you can speed up check ins by assigning one person the ticket scanning role, and the other person the stamp or wristband role. - Choose your ticket prices wisely
We cover setting your ticket prices thoroughly in our previous ‘Marketing your Quicket Event' course, but it’s good to remember this point as part of planning your event’s door.
It can become a nightmare when ticket prices are too specific, for example R155.00. Rather make your ticket prices as close to 'single change digits' as possible, for example:
- R80 tickets mean you’ll only need R20's
- R100 tickets mean you’ll need no change, or maybe a few R10's if someone pays R110
You do not want to run out of float on the day. This slows down the queue and you’ll be left with no option but to start asking those paying for change, which many people get annoyed with. You might even end up having to write out IOU's to people who didn't get the correct change, making the queue even longer and your guests more frustrated. - Is there enough light?
Scanning doesn’t work well in the dark, whether you use traditional scanners or the Quicket GO app. Make sure there’s enough light so that the tickets your guests have with them can be scanned easily by your door staff.
There’s more, though!
Lesson 1: What to plan for leading up to event day - Section 4
Our next lesson covers the rest of what you need to consider or get in place in the lead up of your event.
Ready for the next lesson of our Quicket Event Essentials Course? Click here.

Nina is the Marketing Manager for Quicket and is passionate about growing a community of event organisers into one that is empowered to create incredible experiences. An event organiser herself, she’s also worked across brand marketing, social media, and in the non-profit world. She’s a burner (AfrikaBurn) at heart, an avid baker, loves a good hug, and cooking dinner for friends over a glass of good wine.